
Table of Contents
ToggleAdding a doorbell camera to your home security setup doesn’t have to mean calling an electrician or wrestling with complicated software. The UniFi doorbell camera bridges the gap between professional-grade monitoring and something a homeowner can actually install and manage themselves. Whether you’re building out a complete UniFi ecosystem or just need a reliable way to see who’s at your door, this guide walks you through what makes the UniFi doorbell camera a practical choice for DIY home security, from the specs that matter to the actual installation process.
Key Takeaways
- The UniFi doorbell camera integrates directly with your local UniFi network for subscription-free, locally-stored security footage without relying on cloud servers.
- Installation requires basic electrical skills, a hardwired transformer connection (16–24V AC), and proper safety precautions like power shutoff and voltage testing before connecting wires.
- The UniFi doorbell delivers 2K video (2560 × 1920 pixels) with a 180-degree field of view, infrared night vision, and person detection for identifying faces and license plates.
- Motion detection and package alerts happen locally on the UniFi Protect controller, triggering instant phone notifications without 24/7 cloud recording overhead.
- The upfront investment of $200–$250 for the doorbell plus $300–$500 for a Protect appliance or Dream Machine eliminates recurring subscription fees and gives you complete data ownership and privacy control.
What Is the UniFi Doorbell Camera?
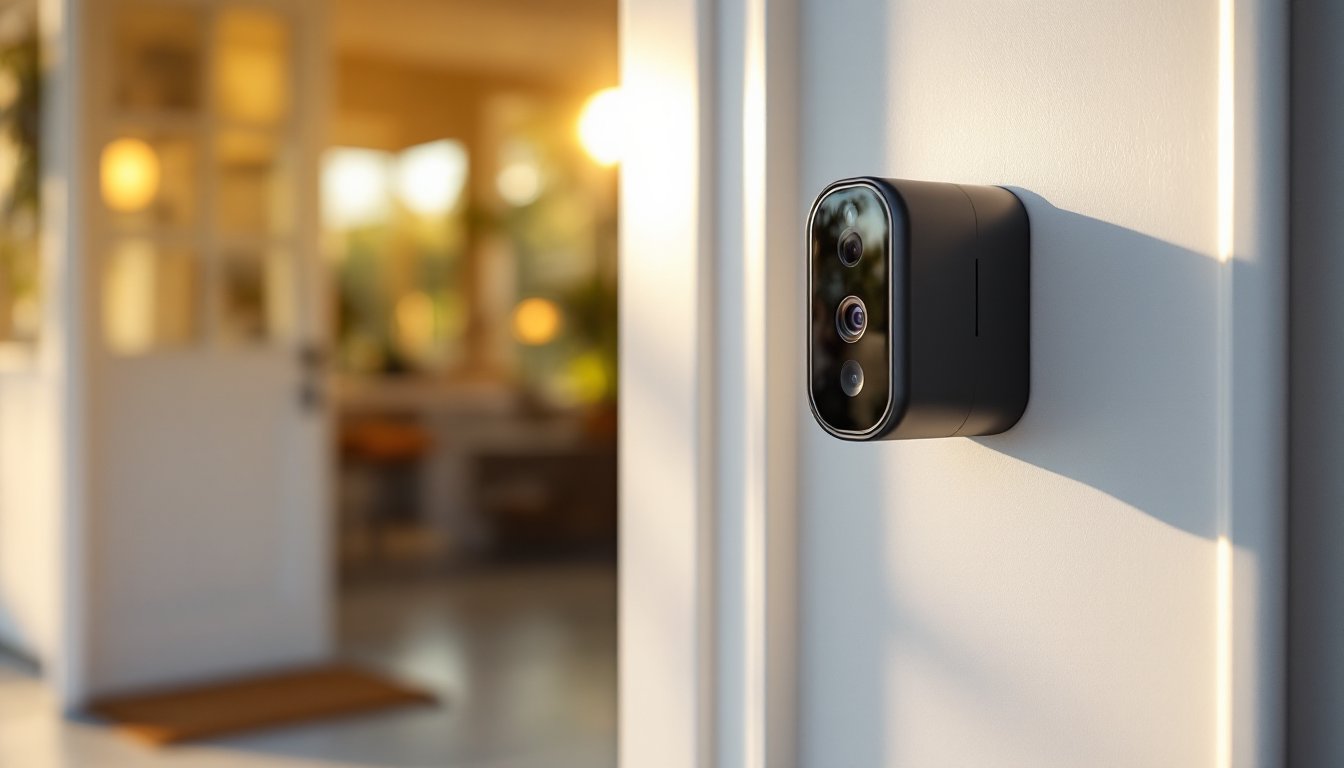
The UniFi doorbell camera is a purpose-built entry point monitor from Ubiquiti, the company behind the widely trusted UniFi networking ecosystem. Unlike generic doorbell cameras that rely on cloud storage and subscription services, the UniFi doorbell is designed to integrate directly into a UniFi Protect system, meaning you own your footage, control your data, and avoid recurring monthly fees.
It mounts where a traditional doorbell would, hardwired to your existing doorbell transformer (usually 16–24V AC). The camera connects to your local UniFi network and syncs with a UniFi Dream Machine or Protect appliance for recording and playback. If you already run UniFi gear for WiFi or networking, adding the doorbell is a logical next step. If you don’t, it’s a reason to consider the ecosystem, many homeowners find that once they have one piece, they add more later.
Key Features That Make It Stand Out for Homeowners
Video Quality and Night Vision
The UniFi doorbell captures 2K video (2560 × 1920 pixels) at 30 fps, giving you clear enough footage to identify faces and read license plates in daylight. The 180-degree horizontal field of view is wider than most competitors, you’ll see visitors approaching, packages being left, and activity on either side of your entry.
Night vision uses infrared LEDs rather than a floodlight, meaning no harsh glare and no power drain from always-on lighting. In complete darkness, the image is monochrome but still usable. The doorbell also supports HDR processing, which helps balance bright daylight with shadowed areas, useful if your porch gets uneven lighting.
Smart Integration and Alerts
The real advantage here is local processing. Motion detection and person detection (distinguishing humans from pets or passing cars) happen on the UniFi Protect controller, not in the cloud. You get instant notifications on your phone, and recording is triggered by those events rather than recording 24/7 to a server farm.
Two-way audio lets you communicate through the doorbell speaker, useful for directing delivery drivers or talking to visitors when you’re away. Package detection is baked in, so the system can learn to alert you when something’s been left at your door. Integration with other UniFi Protect cameras means you can tie doorbell events to whole-home automations: lights turning on, garage door alerts, or sending footage to a NAS (network-attached storage) for long-term archive.
Installation and Setup for DIY Enthusiasts
Before you start, check that your existing doorbell has a transformer. Most homes do, but older ones occasionally don’t. If you have one, it’s usually in the attic, basement, or garage and labeled 16–24V AC. If your current doorbell is battery-powered (like a Ring), you’ll need to add a transformer, this is where it gets electrical and may require a permit in your jurisdiction. When in doubt, hire a licensed electrician: permits exist for a reason.
Turning off power is non-negotiable. Kill the breaker for your doorbell circuit at the panel, or if it’s hardwired to the transformer, disconnect the wires at the transformer itself. Use a voltage tester to confirm no juice is flowing. Wear eye protection and gloves when working near electrical connections.
Remove the old doorbell by unscrewing it from the wall and disconnecting the two wires. Test those wires again with your voltage tester. You’ll reuse these same wires for the UniFi doorbell, so note their gauge, they’re typically 18 AWG (American Wire Gauge) or heavier. If they’re damaged or corroded, run new wire from the transformer to the doorbell location. This isn’t complicated, but it takes time.
Install the new mounting bracket where the old doorbell sat. The UniFi doorbell is slightly larger and heavier than a traditional mechanical one, so make sure the wall surface is solid. If you’re mounting on fiber cement or composite siding, use appropriate fasteners (not just drywall screws). Pre-drill to avoid splitting.
Connect the wires to the doorbell terminals, red or positive to the + terminal, black or negative to −. The terminals are clearly labeled on the back. Twist them tight: loose wires cause intermittent failures.
Power on and add to your network. The doorbell will appear in the UniFi Controller app as a new device. You’ll need admin access to your UniFi system (Protect appliance or Dream Machine). From there, adopt the doorbell, and it begins syncing to your local NAS or storage device. The setup walkthrough in the app is straightforward, expect 10 minutes once the hardware is in place.
Test two-way audio and motion detection before you leave the setup. Walk in front of it, trigger a notification, and speak through the app to hear it from the speaker outside. Confirm that recordings are showing up in the Protect app on your phone. If something’s off, restart the device and re-adopt it.
Why It’s Worth Adding to Your Home Security System
The doorbell camera often becomes the workhorse of a home security setup. It’s the first thing visitors see, which deters theft and unwanted package theft more effectively than any sign. Because it runs locally, there’s no internet outage that disconnects you from your own footage, a problem with cloud-only systems.
Compared to standalone options like Ring or other WiFi doorbells, the UniFi doorbell doesn’t lock you into a subscription or send your video to a vendor’s servers. If privacy is important, and it should be, owning your footage locally is the difference between a security camera and a commercial surveillance tool.
For homeowners already using UniFi routers, access points, or switches, the doorbell fits seamlessly into the ecosystem. You’re not juggling three different apps or worrying about incompatibilities. Reviews from platforms like Tom’s Guide and CNET frequently praise the UniFi doorbell for reliability and integration, especially among DIYers.
Cost-wise, the UniFi doorbell runs about $200–$250, which is mid-range for hardwired options. You save money by avoiding subscriptions and cloud storage fees. If you’re building a complete UniFi setup, spreading the cost over a gateway, access points, and cameras makes the per-device expense feel reasonable.
One caveat: if you don’t already have a UniFi Protect controller, you’ll need one. The Dream Machine Pro starts around $500 and acts as your central hub. Alternatively, standalone Protect appliances exist for around $300. That’s a bigger upfront cost, but it’s a one-time investment, not recurring rent.
Conclusion
The UniFi doorbell camera is a solid choice for homeowners who want control over their security footage and prefer local, subscription-free operation. Installation is straightforward if you’re comfortable with basic electrical connections, and integration with other UniFi devices makes it feel less like a gadget and more like part of your home infrastructure. Start with a clear understanding of your existing doorbell setup, follow the electrical safety steps carefully, and don’t hesitate to call a pro if wiring isn’t your comfort zone. Once it’s live, you’ll wonder how you ever managed without seeing exactly who, and what, shows up at your door.